Your morning routine grinds to a halt when your Keurig starts flashing its lights at you instead of brewing your coffee. Before panic sets in, take a deep breath. Flashing lights on your Keurig are usually nothing to fear – typically it’s the machine’s way of communicating some minor issue that’s easy to resolve.
There could be a few common reasons why the Keurig light starts flashing. In this article, I have discussed the most common Keurig light alerts and how to fix them, so you get back to brewing your morning drink as soon as possible!
What does Keurig Flashing Lights mean?
The main reason why the lights are blinking depends on the model of Keurig you have. However, here are the ten most likely reasons for Keurig lights flashing!
- Keurig all lights flashing – The machine needs to be cleaned
- Keurig descale light flashing – The machine needs to be descaled
- The reusable K-cups are packed too tightly with coffee grounds
- Blue light flashes when the water reservoir is low
- The water filter is incorrectly installed
- You are using distilled water
- The water reservoir is not properly placed
- Clock and power light flashing – K Elite
- Frother light flashing – K cafe
- Error in the system of your Keurig
Now, let’s discuss each of these reasons, their causes, and how to fix them.
As an Amazon Associate, I earn commission from qualifying purchases.
1) Keurig all lights Flashing and not working
If all lights (add water, heat, and medium cup size buttons) on your Keurig coffee machine keep flashing, then there might be a problem with the Keurig water filter or the needle.
To fix that you have to clean your Keurig machine properly
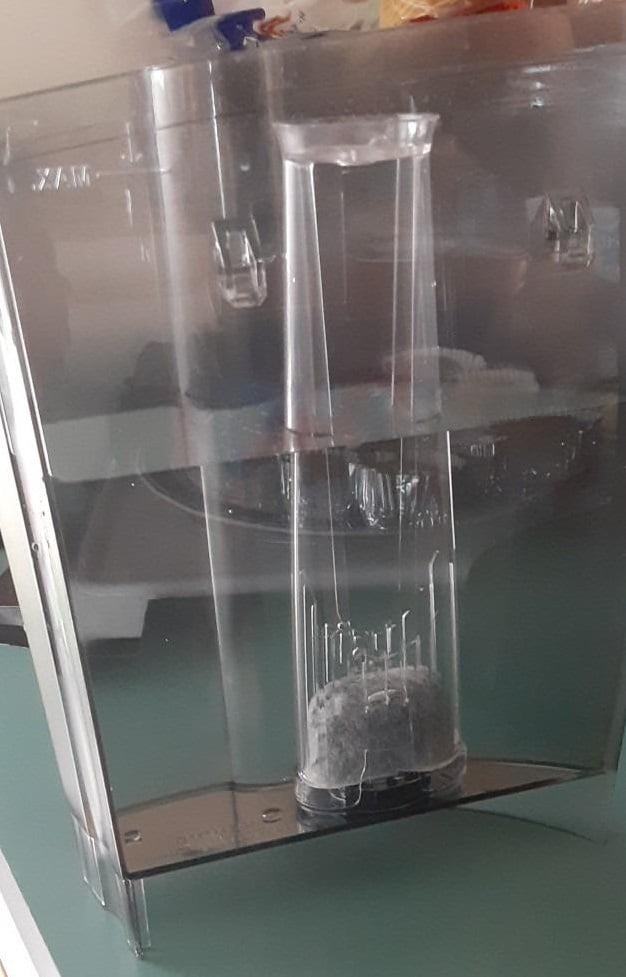
Cleaning the Keurig water filters
- Remove and empty the water reservoir. Check for any blockage in Valves at the bottom of the unit and if found, remove it.
- Make sure that the filter in the tank should be placed correctly in the holder.
- Fill the tank with water and put it back.
- Remove all cup capsules from the brew head. Run a water-only brew of 6-ounce cup size into an empty measuring cup. If you get exactly 6 ounces in the cup, your Keurig is ready to brew
- However, if not! Remove the charcoal or carbon filter present inside the water tank and run the 6-ounce water-only brew cycle again
- If you get the correct amount of water in the measuring cup then there must be some issue with the filter. Replace the Keurig water filter and your problem will be solved.
- However, If you are not using any filter or the correct volume was not measured when you replaced the filter, try brewing water only three more times.
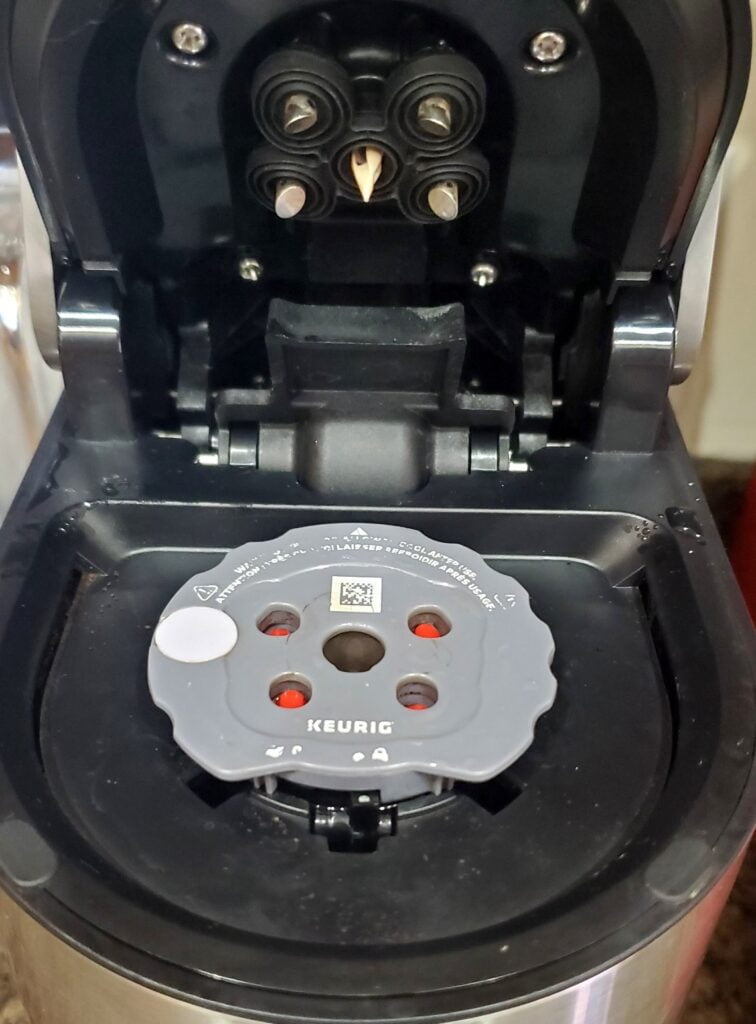
Cleaning the Keurig needles
If you still don’t get the right amount, try cleaning the needle outlet and repeat the brewing cycle. Hopefully, your problem will be solved. You need a paper clip to clean the exit needles properly.
- Turn the machine off and remove the water tank
- Open the head of the machine and remove the K cup holder
- Straighten one end of the paper clip and clean the top needle area by moving it around.
- Rinse the K cup holder with water properly.
- Also, clean the bottom needle funnel with a paper clip.
- Assemble the machine again, Plug it and hopefully, the lights will stop blinking.
2) Keurig descale light flashing
Water used for brewing contains a mineral that causes limescale to build up in your machine, which eventually results in blockage and the descale light will start flashing.
The ultimate solution is to descale your machine immediately to get rid of this buildup. Once you descale your machine, the light will shut off automatically.
To descale Keurig follow these steps:
1- Fill the water reservoir with Keurig descaling solution and fresh water 1:1. Remove the charcoal water filter (if you are using it).
2- Press the largest cup size and keep doing so until the water reservoir is empty.
3- After descaling, thoroughly clean the water reservoir with soapy water and fill it with fresh water.
4- Now run rinsing 2-3 rinsing cycles with fresh water only before brewing coffee.
Here you can find the descaling instructions for every Keurig model
If the descaling light stays on even after descaling Read a detailed guide on why Keurig’s descaling light stays on and how to fix it.
3) Using reusable K-cup – Red light Flashing
When you use a refillable K-cup and pack the coffee grounds too tightly, the red light on your Keurig coffee machine will start flashing.
If you pack a K-cup too tightly with too much coffee and tamp it too hard, water will not find a way to pass through. Keurig will interpret it as a blockage in the pipeline, and as a result, the descaling light starts blinking.
To fix this problem, stop filling the K-cup so tightly. By the rule of thumb, most reusable K cups are designed to hold only 9-11 grams of coffee so you should not go beyond that level
If the problem you are facing is not due to tightly packed coffee grounds, try to remove the pod to check if your coffee machine allows you to run a coffee brewing cycle without a pod.
If the machine runs without the pod you find the culprit. If it doesn’t, then your machine might have some other error.
Overfilling the coffee capsule can also cause leakages in the Keurig machine
4) Blue light flashing on Keurig when the water reservoir is low
A blue light flashing alert appears on the Keurig coffee machine when the water level in the tank is low or empty.
Fill the tank with freshwater (minimum optimum water level required for all K-cup coffee makers to work correctly) to resolve this problem.
If the water reservoir is low beyond the required level, the machine will not start at all.
If adding water doesn’t reset the blue light alert, try turning the machine on and off and re-adjust the water reservoir properly on the machine.
5) You are using Distilled Water
Some Keurig models (mostly Keurig 2.0 brewers) have sensors that detect the water level in the tank with the minerals present in the water.
So, when you pour distilled water into the tank, Keurig fails to detect it and the lights start flashing.
Bottled mineral water or filtered tap water is best for brewing coffee in Keurig.
I would never use Distilled water in Keurig as it can interrupt the brewing process, and also the coffee brewed with distilled water is not as flavorful.
6) The water reservoir isn’t properly installed
When the water reservoir isn’t properly installed the lights on your Keurig will start blinking irregularly or your Keurig might give a prime error.
To solve this simply detach the water reservoir and install it back correctly.
If that doesn’t work the exit valve of the water reservoir might be blocked.
In that case, empty the water reservoir and wipe the exit valve with some brush or cloth to remove any accumulated debris.
7) Keuring Elite Clock and power light flashing
Your Keurig K-Elite coffee maker has an error if the clock and power button lights blink simultaneously.
All You need is to unplug the machine from the outlet, plug it back in, and then turn on the power button. This will reset the clock.
If it doesn’t solve the problem try resetting the machine to factory settings.
8) Frother light flashing in Keurig Cafe
There are two different frother alerts in the Keurig K Cafe.
If the light at the base of the frother is flashing, you may be trying to froth while the brewer is brewing coffee. Unfortunately, It is not possible to do so. The milk frother will start once the coffee is ready and the brewing is complete.
If all the lights at the base of the Keurig frother are flashing, there are three possible issues.
- The whisk might not be attached properly to the frother
- The amount of milk in the frother might not be enough
- The milk frother might not be firmly attached to the base
Ensure that there is no such type of issue with your milk frother and the lights will stop flashing.
Read a detailed guide on Why Keurig milk frother not working and how to fix it
How do you reset a Keurig to solve the flashing problem?
Sometimes, all you can do to solve the flashing problem is simply reset your Keurig brewer.
- Open and close the head of the machine. Remove any new or used K-cups from the machine.
- If that doesn’t work unplug the machine and let it rest for some time.
- Also, remove the water reservoir if your Keurig has a removable water reservoir.
- Now plug the machine back and your Keurig must be back to normal.
If that doesn’t work try pressing and holding the power button for 10 seconds
How to use the Keurig coffee maker correctly?
Keurig coffee machines are simple to operate when using pre-packaged K cups. However, problems can occur when you use ground coffee in Keurig with a reusable My K cup filter.
Here’s how you can use it properly:
1. Ensure the pod of Keurig isn’t full
Using too many coffee grounds to produce a stronger cup of coffee is not always a good idea. As it can clog your machine
Never add more than 9-11 grams of coffee grounds and go beyond the maximum fill level. If you want a strong coffee try a smaller brew size instead.
2. Ensure coffee is adequately grounded
Medium or Medium Coarse Grind size works best in Keurig.
Too fine grounds can clog the machine and result in a muddy cup of coffee, on the other hand, too coarse grounds will result in a watery cup of coffee.
3. Use the machine’s smallest cup setting
Most Keurig coffee makers can brew different cup sizes, yet the amount of coffee grounds remains the same. As the cup size increases, the machine simply adds more water, diluting the coffee’s strength.
I always use a 6 oz brew size with my Keurig and it gives me a strong and flavorful cup of coffee.
Keurig machine Reviews
Final Thoughts
And there you have my top tips for tackling that pesky “Keurig flashing lights problem”!
Whether it’s descaling, cleaning, or replacing parts, getting to the bottom of those blinking lights is key to getting your Keurig back to brewing delicious cups of coffee.
However, if any of the solutions mentioned above fails to solve this error you should consult with Keurig customer support. They will definitely help you in fixing this issue.
Let me know in the comments if descaling the machine did the trick or if you tried any other clever fixes for the Keurig flashing lights problem!
FAQs
Can a flashing light on my Keurig indicate a problem with the machine?
Yes, there might be some serious problem in the system of your machine when the Keurig is flashing lights irregularly.
You should follow and apply all ten fixes I mentioned in the article hopefully the problem will be solved.
If it isn’t then you should consult Keurig customer support or a local technician.
What’s the average lifespan of a Keurig coffee maker?
The average lifespan of a Keurig coffee maker is around 3-5 years with proper care and maintenance.
Related Keurig Guides: