Usually, when your Keurig shows a prime message, it won’t pump water and you have to prime it before it’ll make coffee. It is really frustrating, especially when you are in a hurry in the morning and want a quick cup of coffee.
Stress not! In this article, I will explain what the “prime” message means on Keurig and how you can easily fix this error in minutes and get your coffee ready.
What does prime mean on Keurig?
The Prime message on Keurig simply means that Keurig is unable to pump the water. There are several possible causes for this; the water reservoir may not be aligned, the water filter or screen might have debris, there might be mineral buildup inside the machine, or the Keurig needles might be dirty.
However, all these problems can be easily fixed by a normal cleaning and descaling cycle.
How do you prime a Keurig?
Make sure to follow this article in order, first I will discuss the quick fix if that doesn’t work, and then I will go through the further steps. After applying each fix, turn on your Keurig to see if the prime message has gone away and proceed with further steps if not.
Quick Fix
Before you start the priming process here is a quick fix.
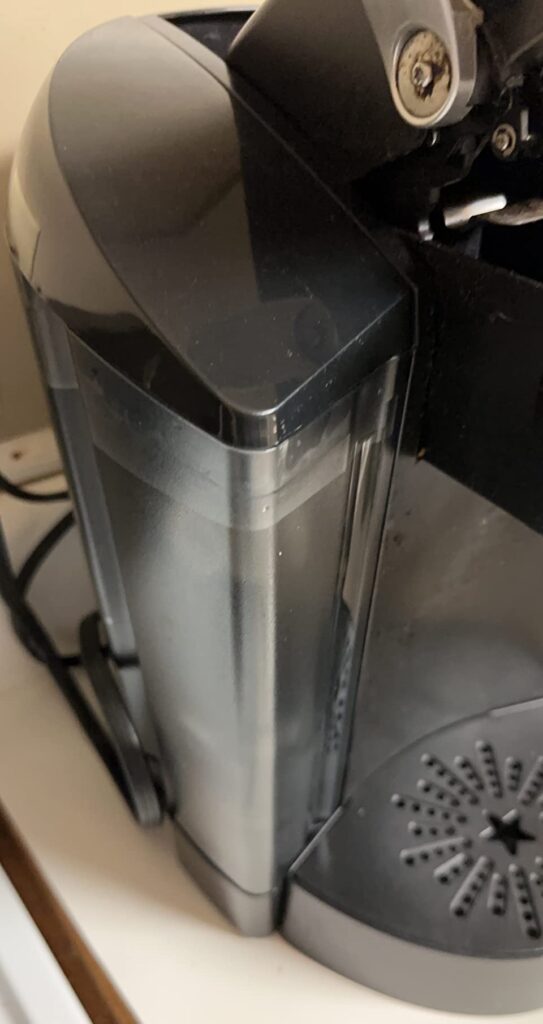
It might be possible that “Prime Error” shows up simply because you haven’t aligned the water reservoir properly.
Simply detach the water reservoir from the machine (if it’s removable) and attach it properly. Turn off the machine, unplug it, and then restart it in a minute to see if the error has been resolved.
Also, make sure you haven’t overfilled the water reservoir above the max line.
Hopefully, after doing this your Keurig will start brewing.
1) Clean the water reservoir
You may be getting a “prime error” message because of the dirty water reservoir. To clean it, follow these steps:
Detach the water reservoir: Detach the water reservoir from the machine and also remove the water filter handle (if you are using it).
Clean it properly: Now empty the water reservoir and clean it properly by rinsing it with water and scrubbing the interior and exterior walls with a soapy cloth. Make sure to clean the outlet of the water tank more carefully both from the inside and the outside.
Let it dry: Let the water tank dry for a few minutes. Wipe the tank well with a dry cloth, and make sure there are no visible dirt particles inside.
Reinstall the reservoir: Once the reservoir is cleaned and dried, install the water filter handle in it and attach it to your machine properly.
Run water-only cycles: If the “Prime Error” has disappeared, run the water-only cycle two or three times before brewing your coffee to flush out all the dirt.
If it still says prime proceed with cleaning the filter screen.
2) Clean the Filter screen
The blockage at the filter screen of the water reservoir may cause your Keurig to drip slowly or your machine may show the prime error because of it.
Here’s how to clean it.
Remove the water reservoir: Take off the water reservoir and drain the water. Also, remove the water filter handle
Clean the base opening: There is a small opening at the base where the water reservoir is attached. Clean that opening with a damp cloth and remove any accumulated debris with a paper clip or a needle.
Clean the mesh screen filter: There is a mesh screen filter inside the water reservoir. Place it under the running tap and direct the water stream on it with pressure to clean out any debris. After that, fill the reservoir halfway, place the lid at the top and cover the hole with your palm, and shake it vigorously for a few seconds to wash away all the dirt. After that, direct the tap on the mesh screen once again and gently rub it with your finger to make sure it’s cleaned properly.
Install the water reservoir: Install the water reservoir properly to the machine and check whether the “Prime Error” is still there or not. If the machine is working run the “water only” cycle two to three times before brewing coffee.
3) Use a straw to purge air from Keurig
To purge air out of your Keurig line, you can follow these steps.
1- First, locate the water spout, which is typically white and situated at the bottom of the reservoir where water enters the machine.
2- Next, hold the Keurig upside-down and use a plastic straw or turkey baster to cover the spout, then blow air through the line to dislodge any debris or air bubbles.
Another quick fix to get air out of your Keurig water lines is to remove the water tank and drip tray, flip the Keurig over, and gently tap the back of it three to four times. This will help to dislodge any trapped air or debris in your Keurig. I know it sounds weird but it has worked for many users.
4) Clean the Keurig Needles and pod holder
When the needles in your Keurig get dirty, it can affect the taste and brewing capacity of your coffee.
In most cases, the prime error will go away by cleaning the water reservoir and the filter screen. However, if not, you should give cleaning needles a try.
Here’s a step-by-step guide:
Remove the pod holder: First, turn off the machine and unplug it. Lift the handle of the machine and take out the pod holder by simply pushing it with your hand.
Remove the Funnel: There is a funnel at the bottom of the pod holder. You can easily remove it by applying force with your hands.
Clean the lower tube: After removing the funnel you can find a tube at the bottom side of the holder. Insert the paper clip or sewing needle in the tube and move it around to remove any clogging or coffee particles
Rinse the pod holder: Rinse both the pod holder and funnel with water and wipe it properly with a soapy cloth to remove any accumulated particles.
Clean the entrance needles: Locate the entrance needles underneath the head of Keurig. There are two holes in the needles that need to be cleaned. Insert the paper clip or sewing needle in those two holes one by one and gently move it around to loosen or remove any accumulated particles.
Reassemble the pod holder: Now reassemble the pod holder correctly and insert it back into the machine. Turn the machine ON and check whether the “Prime Error” has gone away or not. If there is no error make sure to run two or three water-only brew cycles to remove any remaining particles.
Read a guide on How to Clean a Keurig Coffee Maker
5) Descale your Keurig
It is possible that there is excess mineral buildup inside your machine that is obstructing the water flow and causing the prime error.
Follow this simple procedure to descale your machine.
Empty the water reservoir: Detach the water reservoir from the brewer and drain it completely. Also, remove the water filter handle.
Add Descaling solution: Fill the water reservoir half with Keurig descaling solution or Vinegar and half with clean drinking water.
Run the brew cycles: Select the largest cup size “12 oz” to run the brewing cycle and continue doing until the reservoir is empty.
Clean the water tank: Rinse and clean the water reservoir properly with soapy water.
Run cleaning cycles: Fill the water reservoir with clean drinking water and run brewing cycles by pressing the “12 oz” button without inserting the pod. Repeat this process two to three times to get rid of any vinegar taste.
Hopefully, after descaling, you will not see the “Prime Error” message.
Still saying Prime | Call the customer support
If you have applied all the solutions mentioned above and the “Prime Error” message is still not going away then I am afraid there is some serious problem with your machine.
In that case, the only solution is to see a technician or call Keurig customer support. If your machine is still in the warranty period, Keurig will repair or replace the machine free of any cost.
If your machine is out of warranty period you can consult with your local technician or you can still call Keurig customer support. I have personally found Keurig customer support to be very responsive and helpful.
FAQs
Can I Choose Not To Prime My Keurig?
Unfortunately No! your Keurig will not dispense any water if the Prime Error is showing up and you will not be able to brew coffee. The only solution you have to clean your machine properly and prime it.
How Often You Should Descale Keurig?
Keurig recommends descaling the machine once every 3 to 6 months or after brewing 300 cups of coffee whichever comes first.