Making coffee while camping is easier than you think. You can use simple tools like a French Press, a cowboy coffee pot, or a portable pour-over. Just heat some water, add your coffee grounds, and enjoy a fresh, rich brew outdoors!
Waking up to a fresh cup of coffee in the great outdoors is one of the best parts of camping. Whether you’re deep in the woods or near a peaceful lake, coffee can make your morning special. However, brewing coffee while camping can be a challenge without your usual kitchen tools and electricity.
The good news is that there are simple and clever ways to enjoy great coffee while camping. From French Press to cowboy-style brews, this guide covers the 10 best ways to make delicious coffee while camping, along with tips on heating water, grinding beans, and selecting the right milk.
10 Best Ways to Make Coffee While Camping
1. French Press
French Press is the best method for making coffee while camping. It’s super portable and lets you enjoy rich, full-bodied flavor right at your campsite with just a few basic tools and no electricity.

What you’ll need:
- French Press
- Coarse ground coffee
- Hot water
Instructions:
- Start by boiling water, either over a campfire or on a camp stove.
- Once the water is hot, add about two tablespoons of coarsely ground coffee for every cup you want to brew.
- Pour the hot water into the French Press and give it a quick stir to mix the coffee grounds with the water.
- Let it steep for 4 minutes, allowing the flavors to infuse.
- After the time is up, slowly press the plunger down, then pour the coffee into your mug and enjoy the bold, full-bodied flavor.
Pro: French Press creates rich, full-bodied coffee with minimal equipment.
Con: Glass models are fragile for camping
Tip: Choose a shatterproof, stainless-steel French Press for outdoor use.
2. Cowboy Coffee
Cowboy coffee is a traditional brewing method where coarse coffee grounds are boiled in water over an open flame. It’s unfiltered, bold, and often enjoyed in rugged outdoor settings.
What you’ll need:
- Ground coffee
- Pot or kettle
- Campfire or stove
Instructions:
- Place your pot over the campfire and boil the water.
- Once the water is boiling, add two tablespoons of ground coffee per cup directly into the pot.
- Stir it briefly, and let it cook for 2-3 minutes.
- Once the brewing time is up, remove the pot or kettle from the stove and let the grounds settle to the bottom.
- Slowly pour the coffee into a mug, and leave the grounds behind.
Pro: Requires only a pot and fire, making it the simplest method with virtually no additional gear.
Con: Often results in grounds in your cup, and can be difficult to achieve consistent quality.
Tip: Adding a splash of cold water to the pot after brewing can help the grounds settle more quickly.
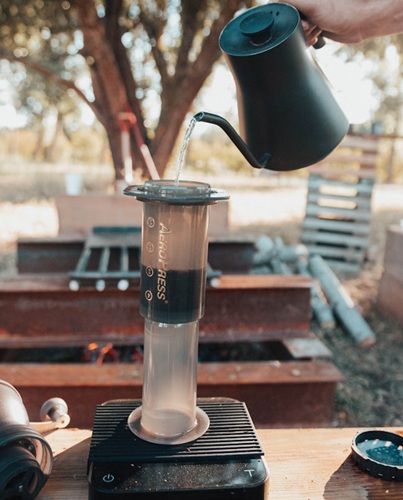
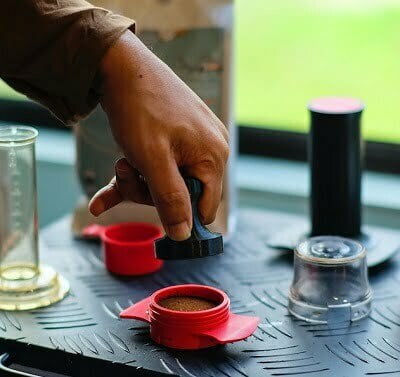
3. AeroPress
The AeroPress is perfect for camping—it’s light, easy to pack, and makes great coffee fast.
What you’ll need:
- AeroPress
- Coffee grounds
- Filter
- Hot water
Instructions:
- Start by placing a filter in the AeroPress cap and attaching it to the chamber.
- Add your desired amount of coffee grounds, typically one to two tablespoons per cup.
- Pour hot water into the chamber, mix for about 10 seconds, and let it sit for about a minute.
- Then, press the plunger down slowly, allowing the coffee to filter through the grounds into your mug.
Pro: Lightweight, durable design creates smooth coffee quickly with minimal cleanup.
Con: Small capacity means brewing multiple batches for groups.
Tip: Consider the travel-friendly AeroPress Go version for easier portability.
Read a Guide on AeroPress Coffee Makers
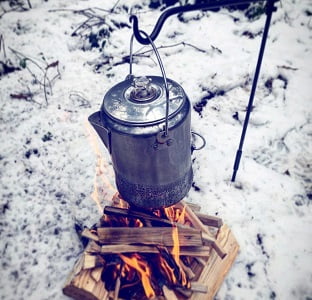
4. Percolator
The Percolator is a is a classic manual coffee maker perfect for brewing large batches of strong coffee while camping.
What you’ll need:
- Percolator
- Coarse ground coffee
- Water
- Camp stove or fire
Instructions:
- Start by adding water to the bottom chamber of the percolator, and place coarse-ground coffee in the top basket.
- Set the percolator over a camp stove or campfire.
- Heat until the water begins to percolate, and you see bubbles rising through the coffee.
- Allow it to brew for about 5-10 minutes, depending on your liked strength.
- Once it’s brewed, remove it from the heat and pour your coffee into your mug.
Pro: Makes large quantities of hot coffee and works directly on campfire or stove.
Con: Bulky, heavy design and potential for bitter over-extraction if not monitored.
Tip: Use coarser coffee grounds to avoid getting gritty coffee.
5. Moka Pot
The Moka Pot is a great option for making espresso-like coffee on the go.

What you’ll need:
- Moka Pot
- Fine ground coffee
- Water
Instructions:
- Fill the bottom chamber of the Moka Pot with water just below the valve.
- Add fine-ground coffee to the filter basket.
- Assemble the Moka Pot, then place it on your camp stove or over a flame.
- As the water heats, pressure builds in the bottommost chamber, forcing the water through the coffee grounds and into the top chamber.
- Once the brewing sound changes, signaling it’s done, remove the Moka Pot from the heat and pour the espresso-like coffee into your cup.
Pro: Creates strong, espresso-like coffee with rich flavor on any heat source.
Con: Requires careful heat management and can be challenging to clean at a campsite.
Tip: Use medium heat to avoid a burnt or bitter taste.
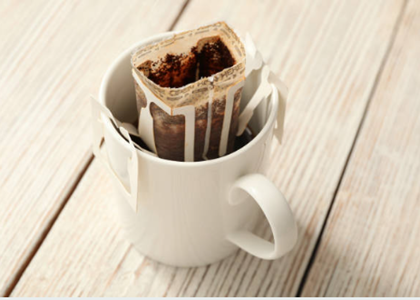
6. Portable Pour Over
Pour-over coffee is a great choice for making clean and bright coffee while camping

What you’ll need:
- Pour-over cone
- Coffee filter (paper or reusable)
- Ground coffee
- Hot water
Instructions:
- Place the pour-over cone over your cup and insert a filter.
- Add your coffee grounds to the filter, then gradually pour hot water over them in a circular motion.
- Start from the centre and work your way outward, allowing the water to filter through the coffee and into your mug.
- This method requires patience, but it results in a clean, flavorful cup of coffee.
Pro: Campers who enjoy a slow, intentional coffee-making process.
Con: Glass pour-overs can shatter easily.
Tip: Choose a reusable filter, like a stainless-steel or silicone one, to reduce waste.
7. Portable Espresso Makers
Portable espresso makers offer the chance to enjoy real espresso while camping.
What you’ll need:
- Portable espresso maker
- Ground coffee
- Water
Instructions:
- Start by filling the coffee basket with your desired amount of ground coffee.
- Then, fill the water tank according to the manufacturer’s instructions.
- Depending on the model, either pump the handle or press a button to brew your coffee.
- This process will create a rich, espresso-like coffee that’s perfect for those who crave a strong caffeine kick.
Pro: Delivers true espresso with crema even in remote locations.
Con: Often expensive and requires fine grinding
Tip: Brands like Wacaco and Handpresso offer great portable espresso makers.
Check out Best Portable Espresso Makers
8. Coffee Sock
The coffee sock is a lightweight, reusable cloth filter that’s great for camping.
What you’ll need:
- Coffee sock
- Ground coffee
- Hot water
Instructions:
- Place the coffee sock over your mug and add ground coffee to it.
- Slowly pour hot water over the coffee grounds, allowing the water to filter through the cloth and into your mug.
- Let the coffee steep for a few minutes, then remove the sock and enjoy your freshly brewed coffee.
Pro: Reusable, environmentally friendly filter that’s lightweight and produces minimal waste.
Con: Requires thorough rinsing after use and can retain coffee oils/flavors over time.
Tip: Clean the coffee sock right after use for better performance.
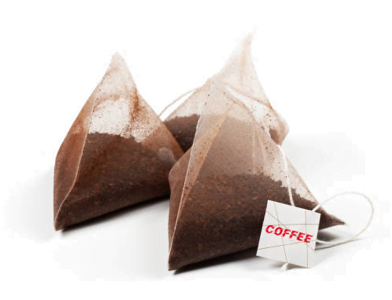
9. Coffee Bags
Coffee bags are like tea bags but filled with coffee for quick, no-mess brewing.
What you’ll need:
- Coffee bags
- Hot water
Instructions:
- Boil water over a stove or campfire, then place the coffee bag into your mug.
- Pour the hot water over the coffee bag and let it steep for about 3-5 minutes.
- Once the coffee is brewed to your liking, remove the bag and enjoy.
Pro: Pre-measured convenience similar to tea bags with no equipment needed.
Con: Limited selection, typically lower quality than other methods.
Tip: You can make your own coffee bags using filter paper and your favorite ground coffee
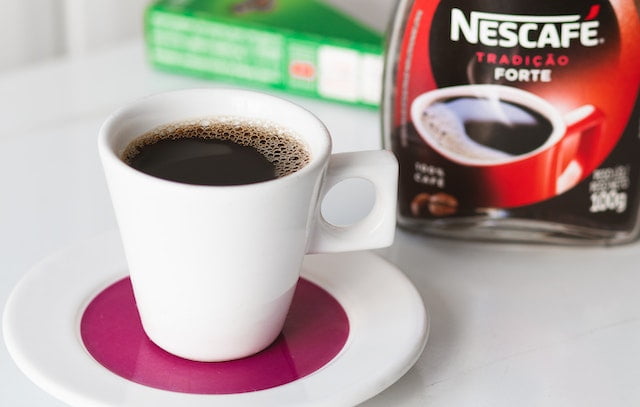
10. Instant Coffee
Instant coffee is the fastest and easiest option when you need a caffeine fix.
What you’ll need:
- Instant coffee packet
- Hot water
Instructions:
- Add your instant coffee packet into a mug.
- Boil water, then pour it into the mug with the coffee packet. Mix well, and your coffee is ready to enjoy.
Pro: Unbeatable convenience with virtually no preparation or cleanup required.
Con: Generally inferior taste compared to freshly brewed methods.
Tip: For a better taste, try higher-quality instant coffee brands like Intelligentsia or Verve.
How to Heat Water for Making Coffee While Camping
When you’re camping, you’ll need hot water for almost every coffee-making method. Here are a few easy ways to heat water outdoors easily.

Camp Fire
The most traditional way is to use a campfire. Just place a kettle or pot over the flames and wait for the water to boil. Make sure to use a fire-safe pot and always handle it carefully with a gripper to avoid burns.
Battery Kettle
Battery-powered kettles are the best equipment to heat water without a fire. These are perfect for car campers or those who have access to solar power. Just remember to charge the kettle fully before your trip. It’s smart to pick a model with an automatic shut-off feature for extra safety.
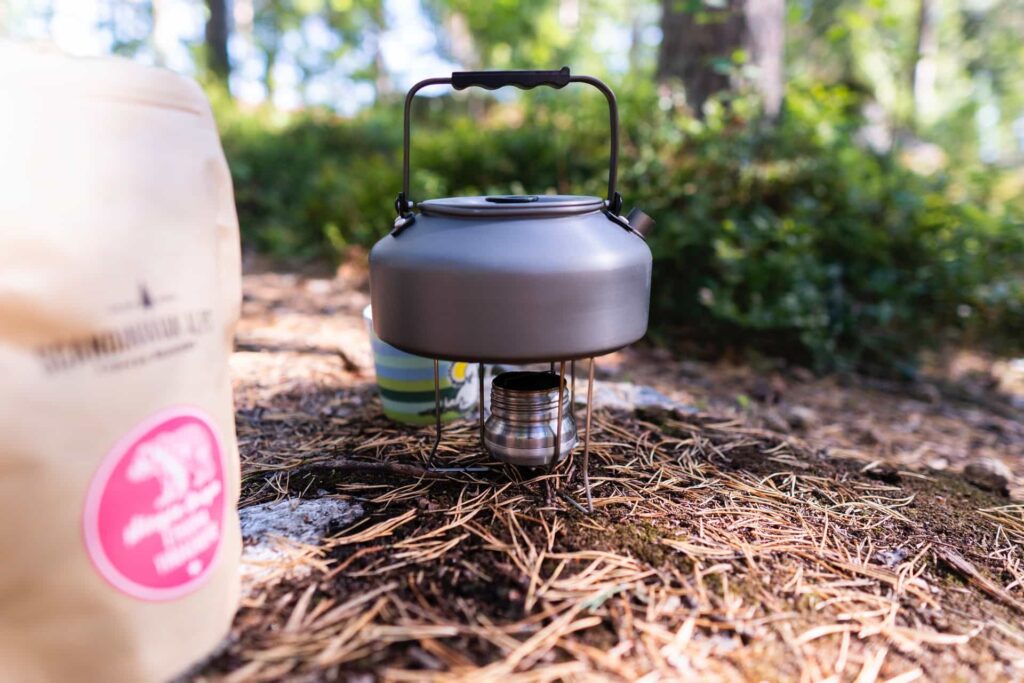
Portable Gas Stove
A portable gas stove is another great choice. It’s lightweight, easy to carry, and heats water very quickly. If you plan to camp for a few days, be sure to bring extra fuel canisters so you don’t run out of fuel.
Jetboil System
For those who want the fastest option, the Jetboil system is a fantastic pick. It can boil water in under two minutes! This makes it perfect for backpackers and solo travelers who need something fast and reliable. It’s a bit pricey, but many campers find it well worth the cost.
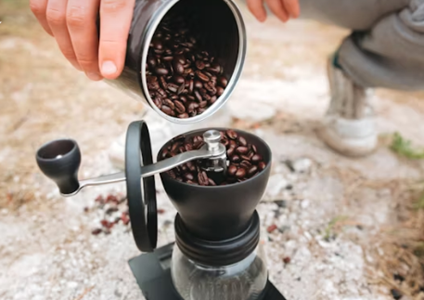
Use Portable Coffee Grinders for Fresh Coffee
Using freshly ground coffee beans can make a big difference in taste. When you grind coffee just before brewing, it keeps the aroma and flavor locked in. This is why many campers carry a small coffee grinder with them.
Manual coffee grinders are the best option for camping because they are lightweight and don’t need electricity. You can use them anywhere, whether you’re on a mountain trail or at a campsite.
It’s a good idea to choose a grinder with ceramic burrs. These give you a consistent grind, which means better-tasting coffee. Also, remember to adjust the grind size based on your brewing method.
What’s the Best Kind of Milk for Camp Coffee?
When camping, keeping milk fresh can be a challenge. Regular milk spoils quickly without a fridge. That’s why it’s important to choose the right kind of milk for your camp coffee. Here are the best and easiest options you can pack for your trip.
1. Powdered Milk
Powdered milk is one of the easiest choices. It’s light, doesn’t go bad, and takes up very little space. You just need to mix it with water, and it’s ready to use. It may not taste exactly like fresh milk, but it works well in coffee.
2. Evaporated Milk
Evaporated milk is thick and creamy. It comes in cans and doesn’t need to be kept cold. This makes it a great option for camping. It adds a rich taste to your coffee and lasts for days once opened, if kept in a cool place.
3. UHT Milk (Long-Life Milk)
UHT milk, also called shelf-stable milk, comes in sealed cartons. It doesn’t need refrigeration until you open it. The taste is very close to fresh milk, and it’s perfect for short camping trips.
4. Plant-Based Milk
Plant-based milks, such as oat, almond milk, or soy milk, are also great for camping. Many come in small, shelf-stable cartons. They’re perfect for people who are vegan or lactose-intolerant. These milks stay fresh without a fridge and give your coffee a smooth flavor.
Simple Tip: No matter which milk you choose, go for small, sealed packs. This helps avoid waste and makes storage easier.

I’ve always brought instant coffee on trips, but now I’m tempted to try the French Press or AeroPress. Do you think the AeroPress Go is worth it for just weekend trips?